Hello I am having an issue.
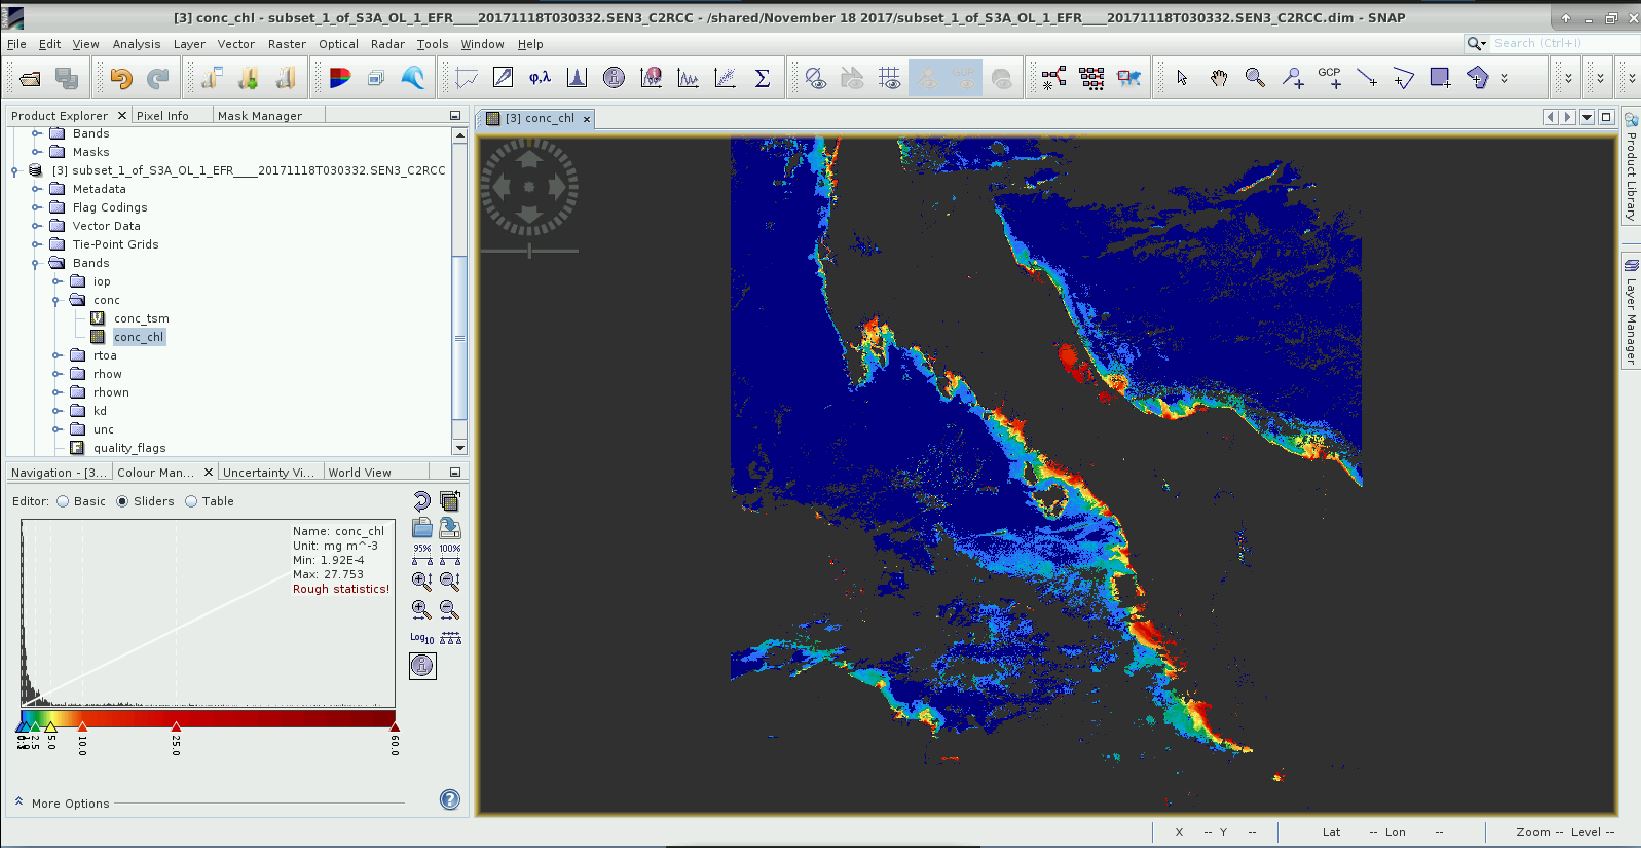
I followed a tutorial on ocean color using CR2CC processor.
When I obtained the final product I saved by selecting only the chlorophyll and unc_chlorophyll
and not selecting any bands in metadata option.
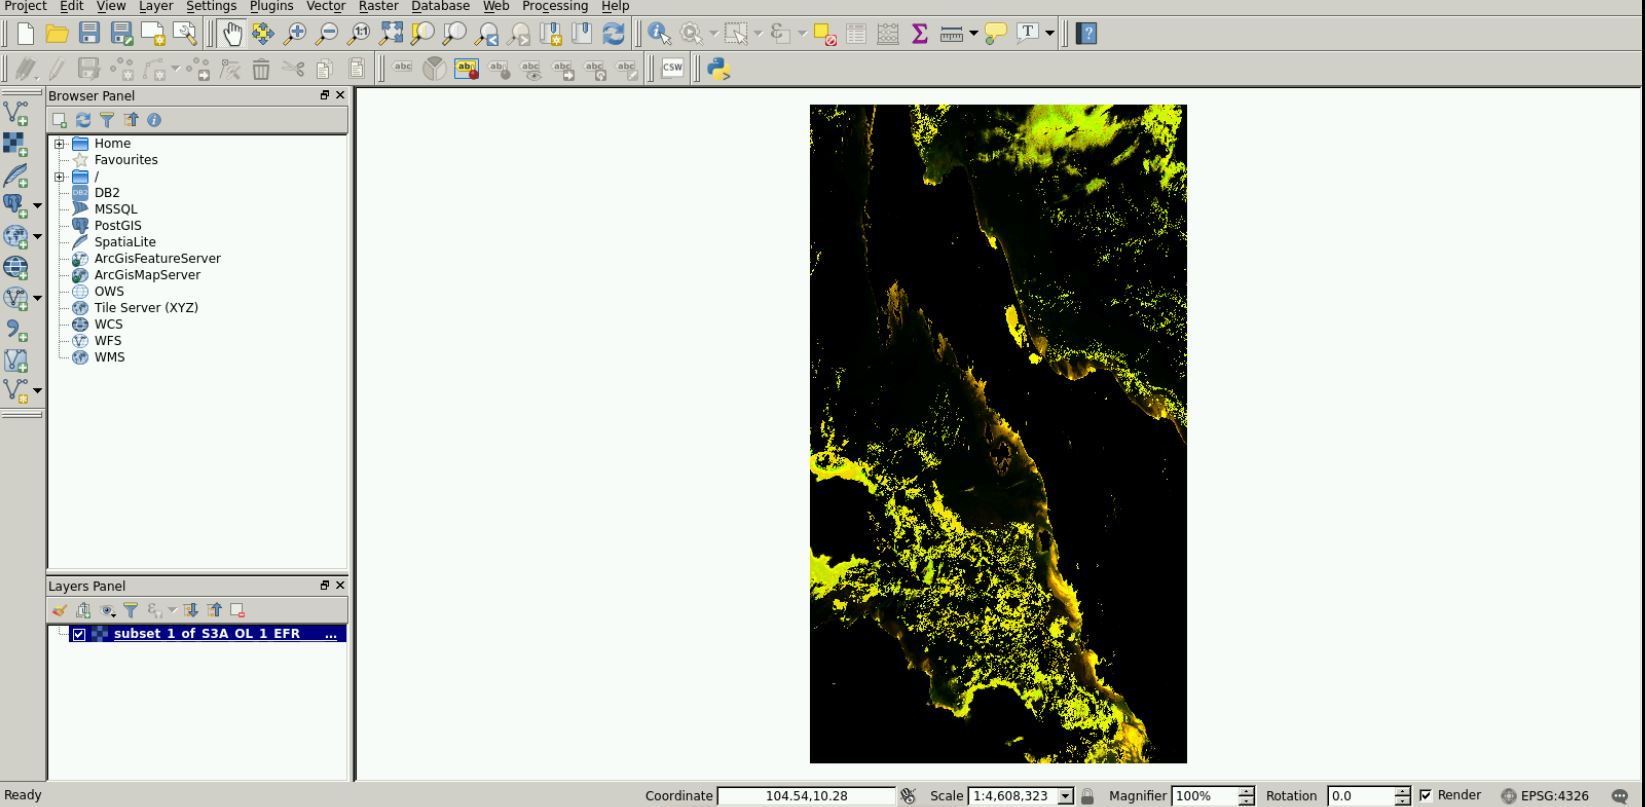
However, When I uploaded the image in qgis I get a different image with a different colour palette.
QGis probably tries to create some default RGB image from your data.
If you want colourised GeoTiff you can right-click in the image view and select “Export View as Image”. Choose Options “Full Scene” and “Full Resolution”. As file type select GeoTiff.
In this case, you will lose the geo-physical values, but preserve the colours.
Or you do the colour manipulation in QGIS as ABraun suggested.
So I followed what Abaum suggested.
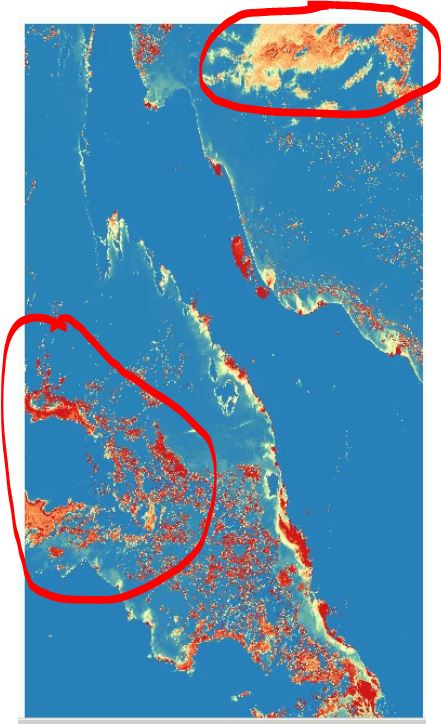
Things went fine. But I have noticed that
I areas which I have masked by using the cloud_risk mask in SNAP
is showing also showing colour. Any idea on that.
Dear Marpet
I tried following your solution. But in that, I case I will have to ignore the error band
which is produced as unc_chl. Moreover, when I save the image and open it the land mask and cloud mask
which
Jpeg does not support transparency. The no-data is transparent in SNAP.
You can save it to png. This image format supports transparency. Or you add another layer on your scene which represents the no-data and colourise it.
The simplest way is to use the no-data overlay .
From the layer manager, you can change the colour by using the layer editor .
Regarding your first try with the cloud_risk masking:
How have you masked the clouds? Have you edited the valid-pixel expression?
This is not applied to the data when writing to GeoTiff.
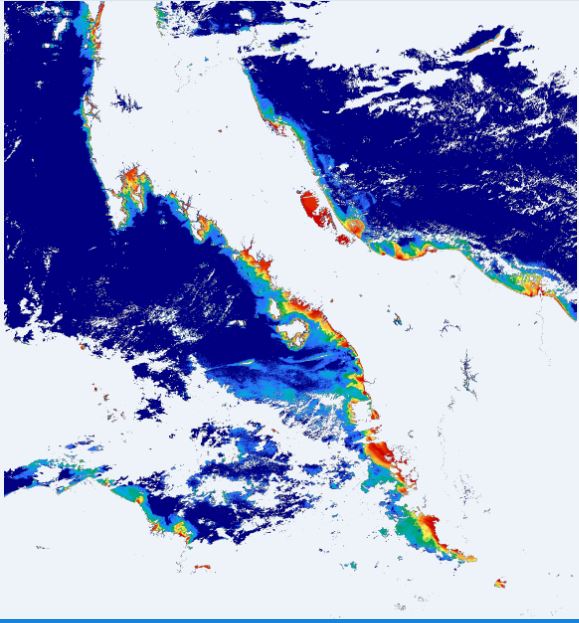
But you can create a new band with the band math. Just reference the chl_con band. During this step the mask is applied to the data.
And if you export this, this colud_risk pixel should be removed.
Thank you for the advice. Yes now its working fine. As you have said, the sentinel 3 staff also suggested me the same. creating a new band and editing the valid pixel expression if (!Cloud_risk) then conc_chl else NaN, further unselecting the virtual option and replacing the NaN with a value (-1), since Qgis does not recognize NaN. Regarding the geotiff image, I found that relocating the image and overlaying on Google earth also works fine. I can further georef the image in Qgis to place the coordinates and update the scale. Thank you so much for the timely advice. But I wanted to confirm if I overlay the image on google earth I will be ignoring the unc_chl band. Will that make any difference.?
Ignoring the unc_chl band for google earth is ok. It depends on what you want to show. The only difference is that the uncertainty is not visible. But that’s okay. It really depends on what you are doing.
I would just like to add that as from my experience. it is better to do the reprojection before the CR2CC processing. Because I noticed that the values shift when a CR2CC processed image is reprojected.