I DOWNLOAD THE SENTINEL 3 OLCI SENSOR, BUT I CAN’T SEE THE REAL COLOR USING SNAP SENTINEL
You have dowloaded a Sentinel-3 SLSTR Level 2 (LST) product, not an OLCI image. Please, refer to: https://sentinel.esa.int/web/sentinel/user-guides/sentinel-3-olci/product-types
And read carefully the documentation.
If you want to see natural rgb images, you should use a OLCI Level 1 product.
The level 2 products are not well suited for rgb images, except the water level 2 products.
Btw., can you stop writing everything in capital letters? It looks like as if you would yiel at us.
1 Like
Hello, thank you very much for answering and clarifying every question.
I already downloaded the new image but it has a true color as different (image 1) from the one shown on the page (image 2). Why does this happen ?
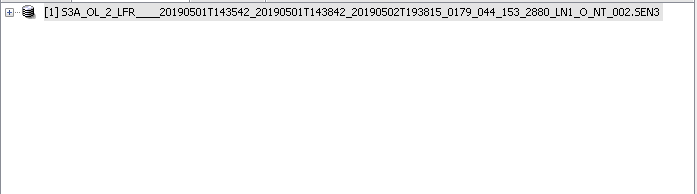
imagen 1
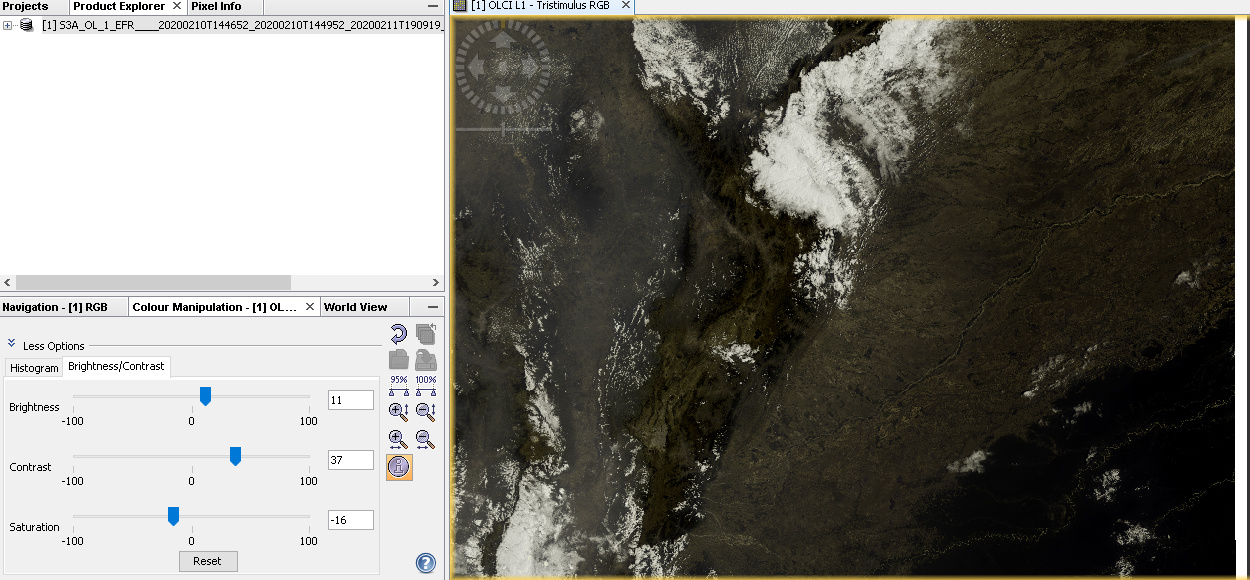
imagen 2

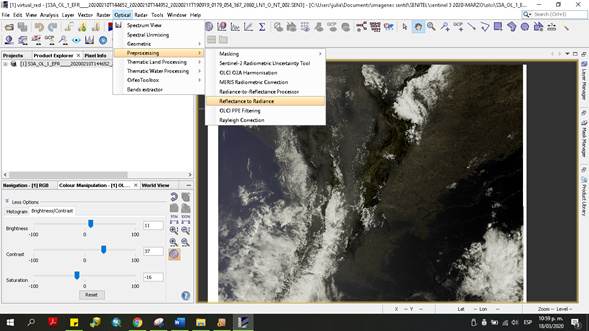
in the senitinel 3 images for the olci sensors, and lst should radiometric corrections be applied?
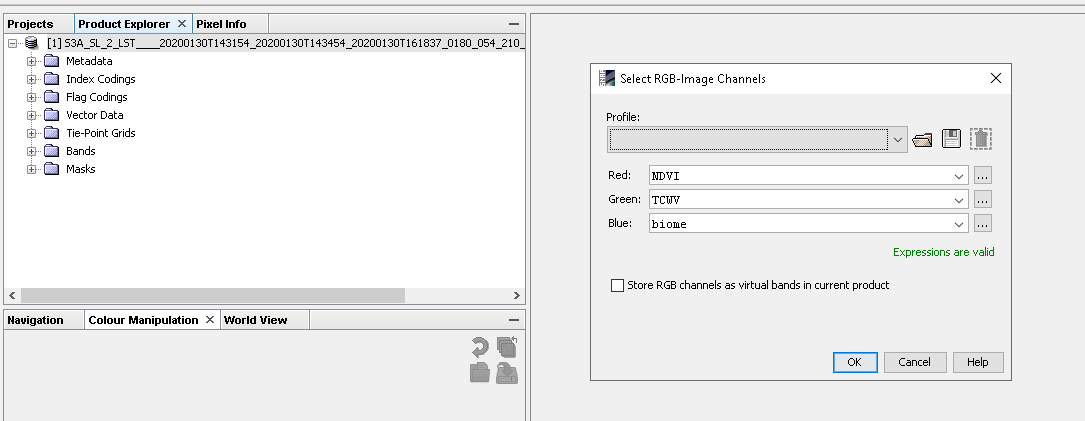
since i am new to sentinel 3, is the option in image 3 used for radiometric corrections? in the senitinel 3 user guide does not talk about this.
The Scihub probably uses a different algorithm as SNAP to create the RGB-Quicklook image.
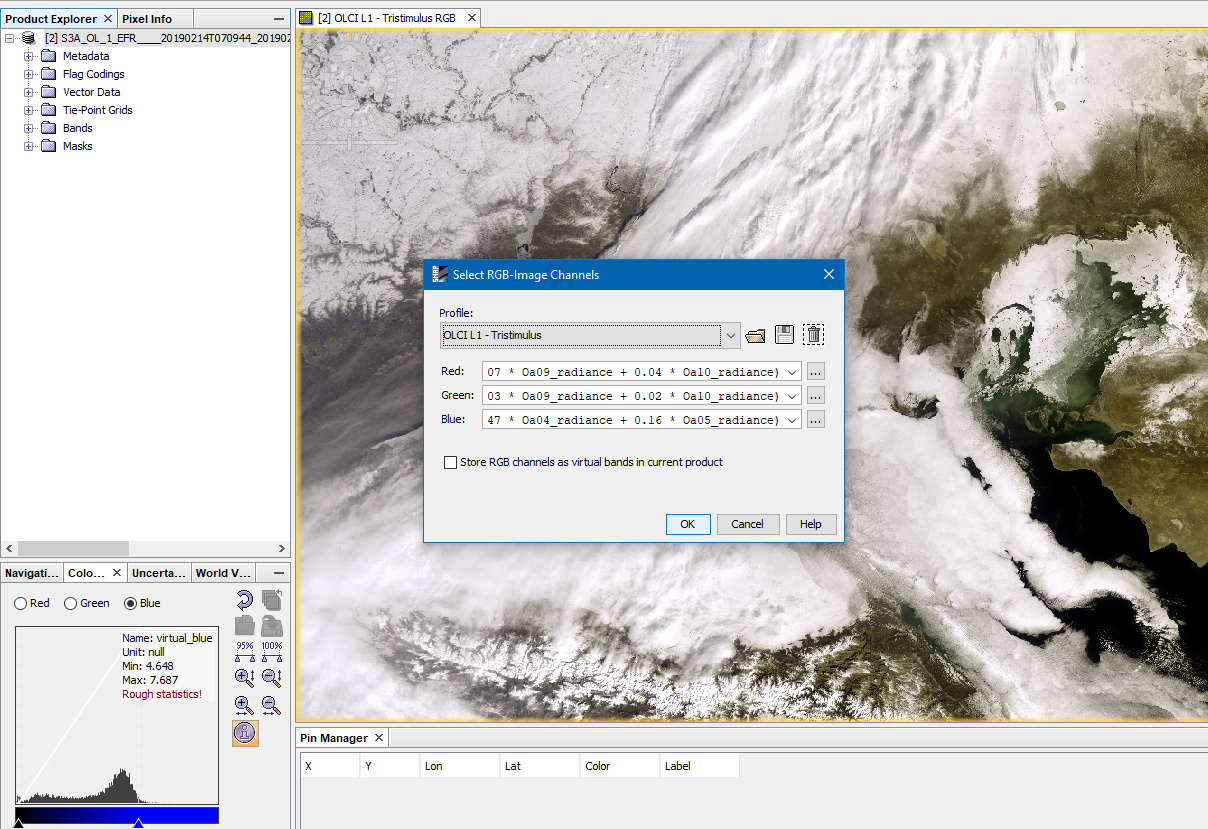
Even SNAP provides different default profiles for OLCI.
And you can also define your own profile by specifying the expression for each colour channel.
Besides, you can drag the sliders in the Colour Manipulation window.
There is not only one way to create an RGB.

In the image, you see 4 different RGBs. The first two use single bands for each RGB channel. The latter two use a combination of multiple bands for each channel. For the last one, I have changed dragged the upper sliders a bit to the left so they are closer to the histogram curve.