Hey all!
I’m trying to do degradation for Sentinel (L2A) and Landsat 8 (L2) images- I want to make the pixel size to be 600m per pixel.
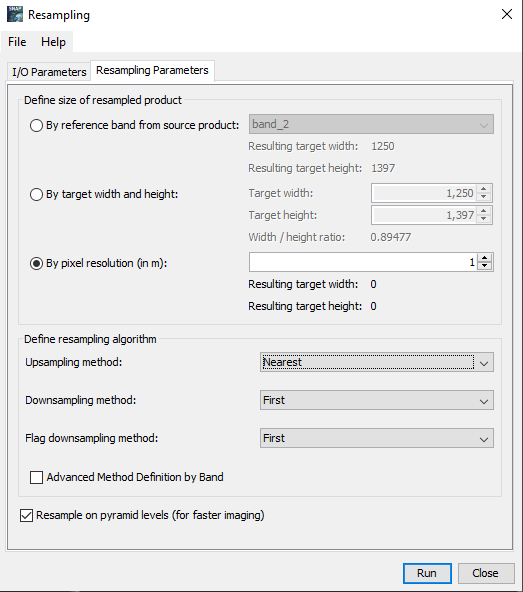
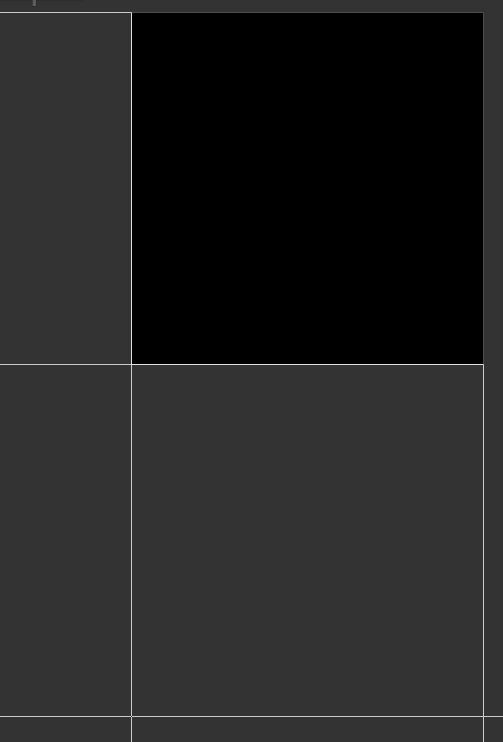
I have trayed to use the resample tool, but the moment I file in a number at the “by pixel resolution (in m)” line, all the parameters go to 0. I get a black image if I try to “run” the toll.
Is there a different tool to perform degradation with?
Thenks
Hi, I’m wondering what kind input data you are using in the example images.
Neither S2-L2A nor L8-L2 contain a band named ‘band_2’. The shown width and height do not fit to the data too.
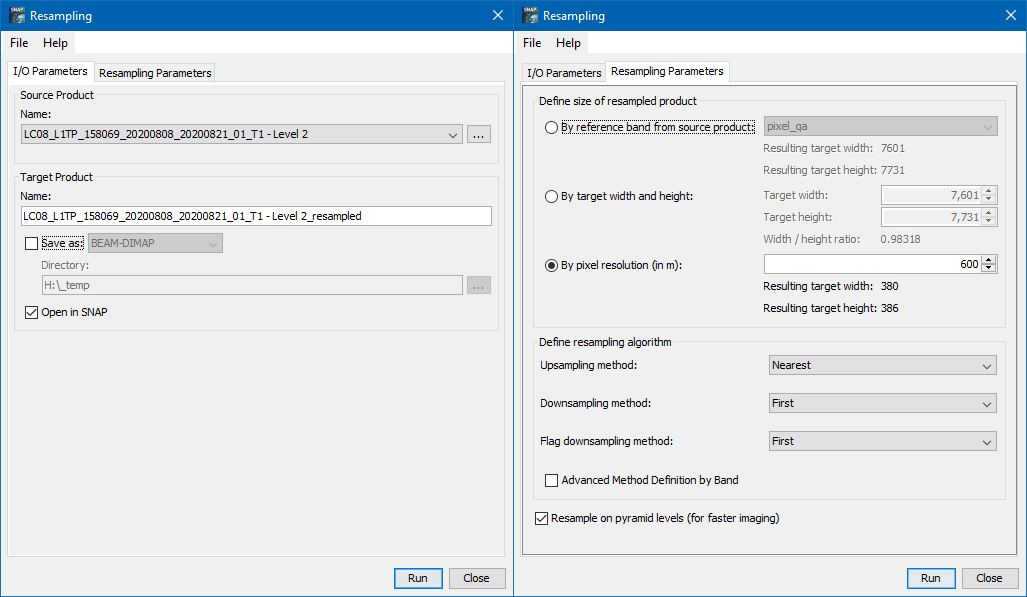
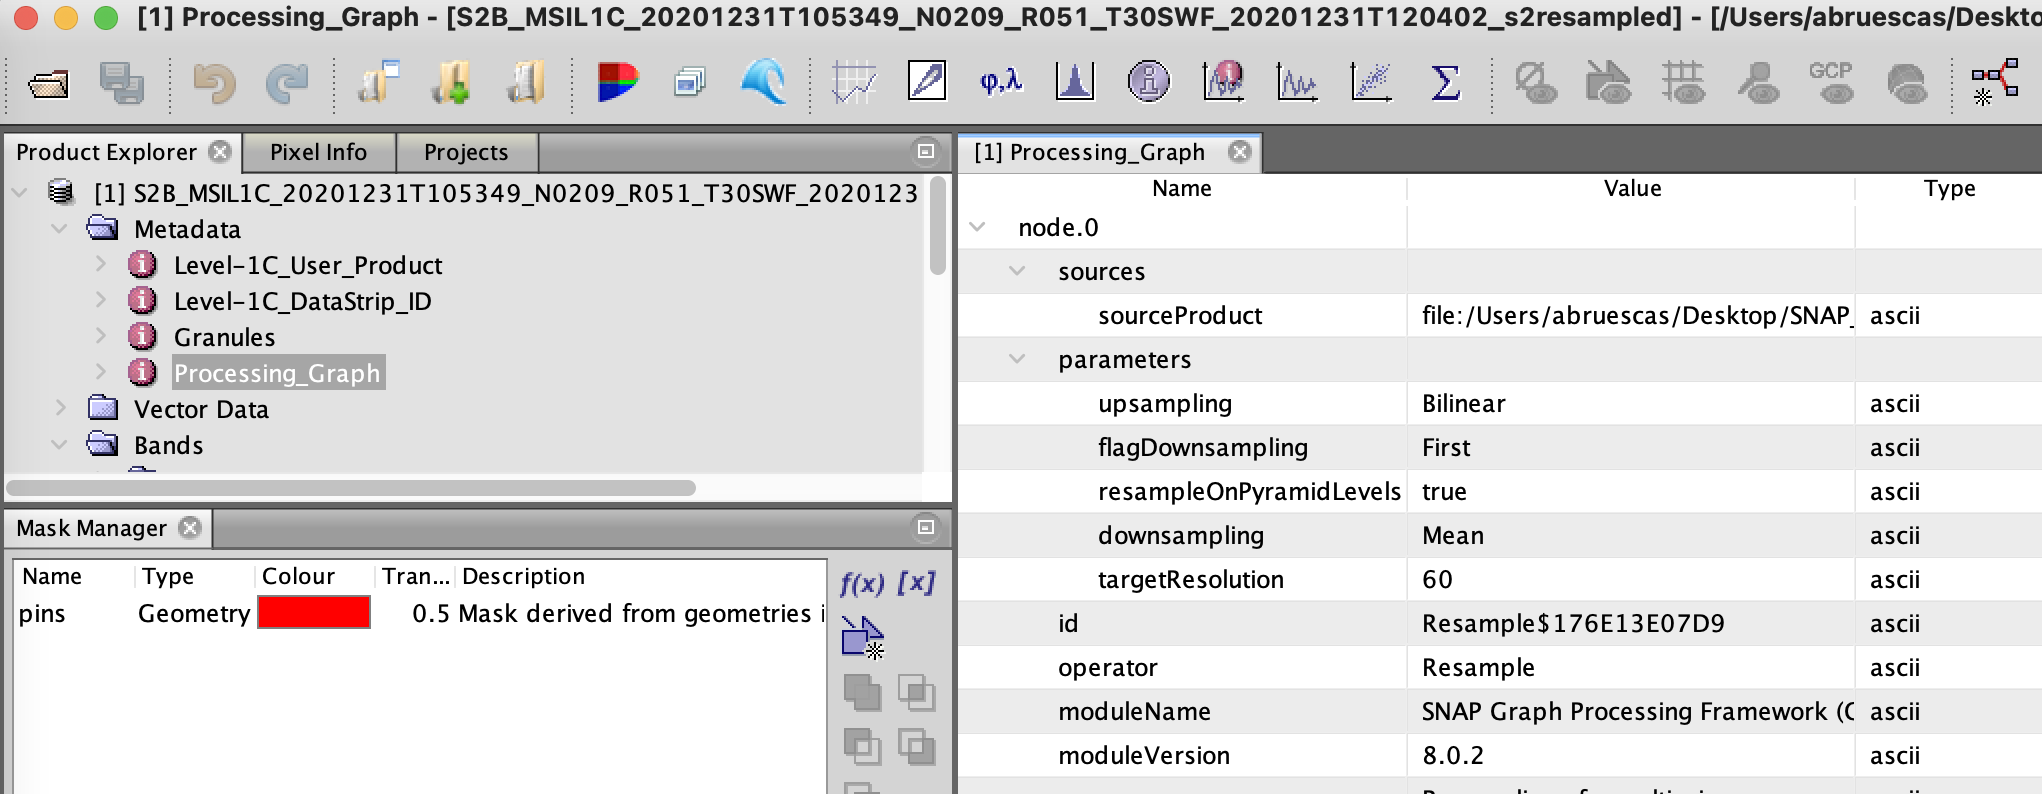
If I use a L8-L2 it looks like this:
I have downloaded the images from the Sentinel hub browser, used TIFF of 32 bit in medium resolution. raw data option. The images come separately so I used the “collocation” tool to have one product with all the bands. for my comfort, I have changed the names to fit the band`s names (like band 2).
I also tried the USGS browser for theL8- L2 images and the image didn’t load properly and the images of S2-L2A were too massive to work with.
You can find the tool next to the Resampling tool.
In the menu at Raster / Geometry / Level-3 Binning
With the binning tool the output will be at WGS84 and not UTM anymore.
I’m not sure why it is not working in your case. Maybe you can provide your generated data?
Maybe by using WeTransfer?
Even after your explanation the size of 1250x1397 is strange.
Hey Marco,
These are the zip files from the sentinel hub browser I’m working with. This zip is of Landsat 8 in a TIFF format, 32 bit, medium resolution; I also have the same files from Sentinel 2- Would you like me to send them?
Regarding the Sentinel data from Copernicus.eu- I downloaded images, but the data is too heavy for my computer, and doing “mosaic,” and then “subset” for my ROI can take hours, so I started to work with the Sentinel hub TIFF data.
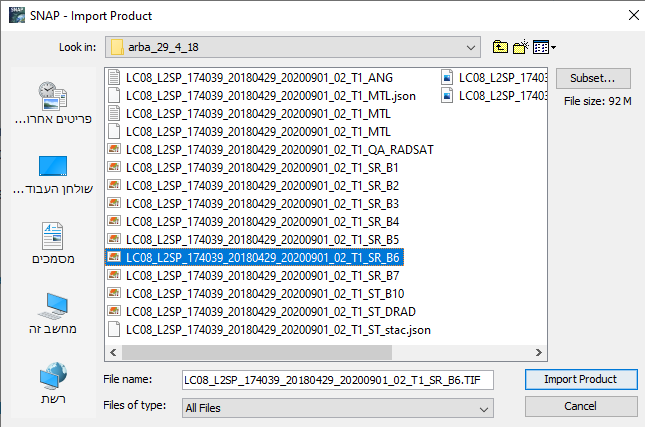
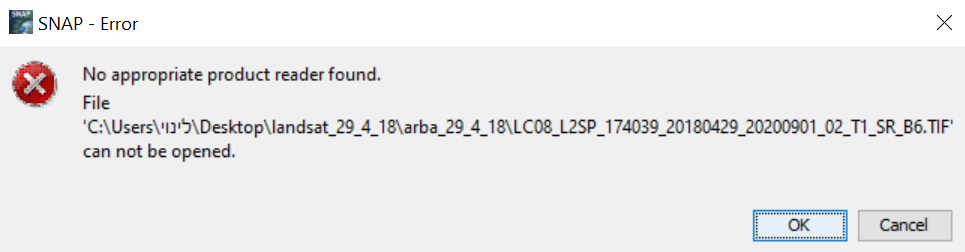
I have also tried to download the Landsat images from the USGS Earth Explorer (collection 2); however, SNAP can’t identify it (by import< optical sensor< Landsat< Landsat 8 30 m, and also by import< Generic format< TIFF). The attached images show the “import error” for Landsat 8 (the same error message for both ways to import). These are the files.
Collection 2 is not read by SNAP yet.
To open the files properly you have to open the *.xml file.
Maybe it would be better for you to do the subset first and the mosaic later, it will take less memory.
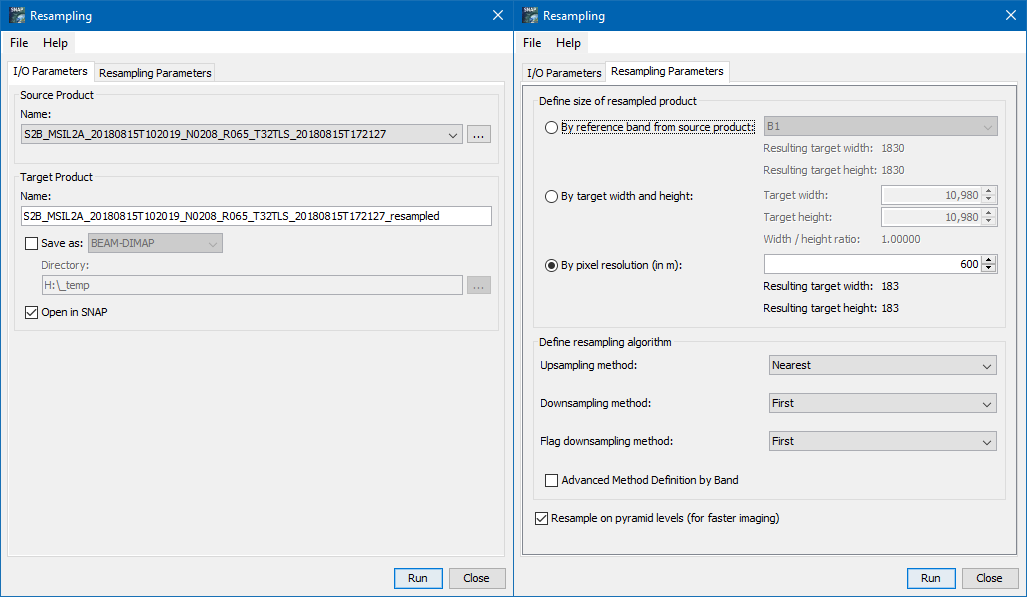
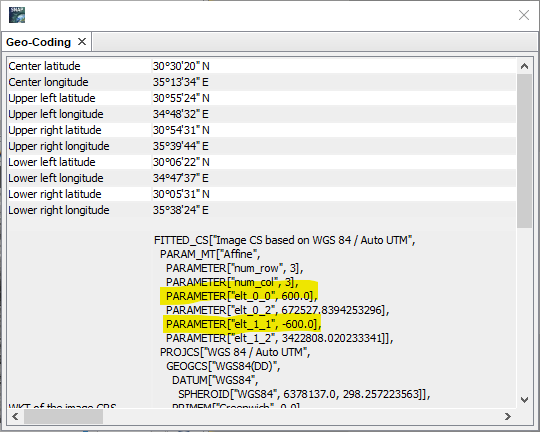
The L8 data from Sentinel hub is not in the original projection of Landsat 8. It has been reprojected to WGS84. Specifying the target resolution for the resampling is not support if the source is WGS84.
You need to reproject back to UTM before resampling. Then you can specify the 600m.
Probably you need to do the same for the S2 data from Sentinel Hub.
As Ana said, the Landsat Collection2 is currently not supported. But we are working on it.
If your PC is not powerful enough to handle high resolution data, you could use lower resolution as your source data. Like Sentinel-3 (300m) or Modis (500m).
Thank you Marco and Ana, for your answer- it was beneficial.
I tried to reproject to WGS84 and then to resample, and it looks visually pleasing- where can I see the new pixel size to know if it worked well?
There is no pixel size on the information and in the TIFF metadata.
I appreciate the tip on other products that can be useful for me. I’m studying the spectral range of 1550-1700 nm, so I’m working with Landsat Sentinel 2 and MODIS- if you know more low-resolution sensor in this spectral range that SNAP know how to work with, I would like to know