Hi everyone! I’m trying to apply a mask to extract a polygonal region from a given WKT but after generating the RGB image from the applied mask I get a different image compared to the original one. If I visually inspect the pixels on both the original product and the final one I can see that they have kind of “shifted” their values by some amount. Here are the steps that I’m doing:
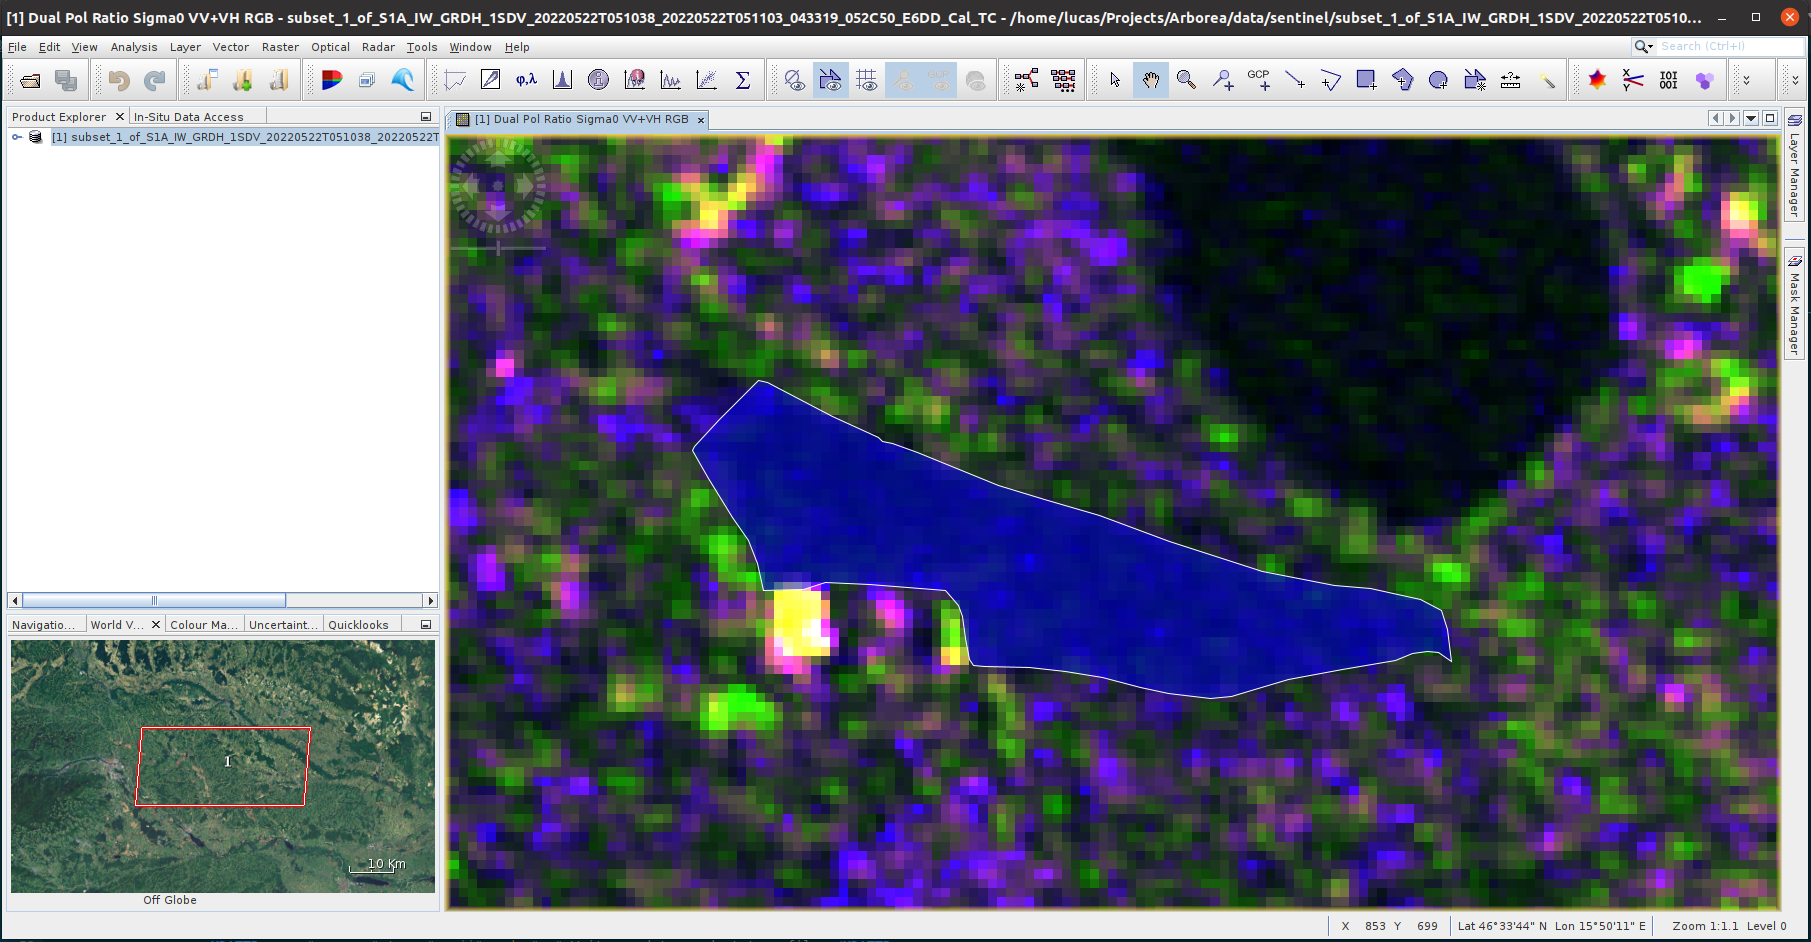
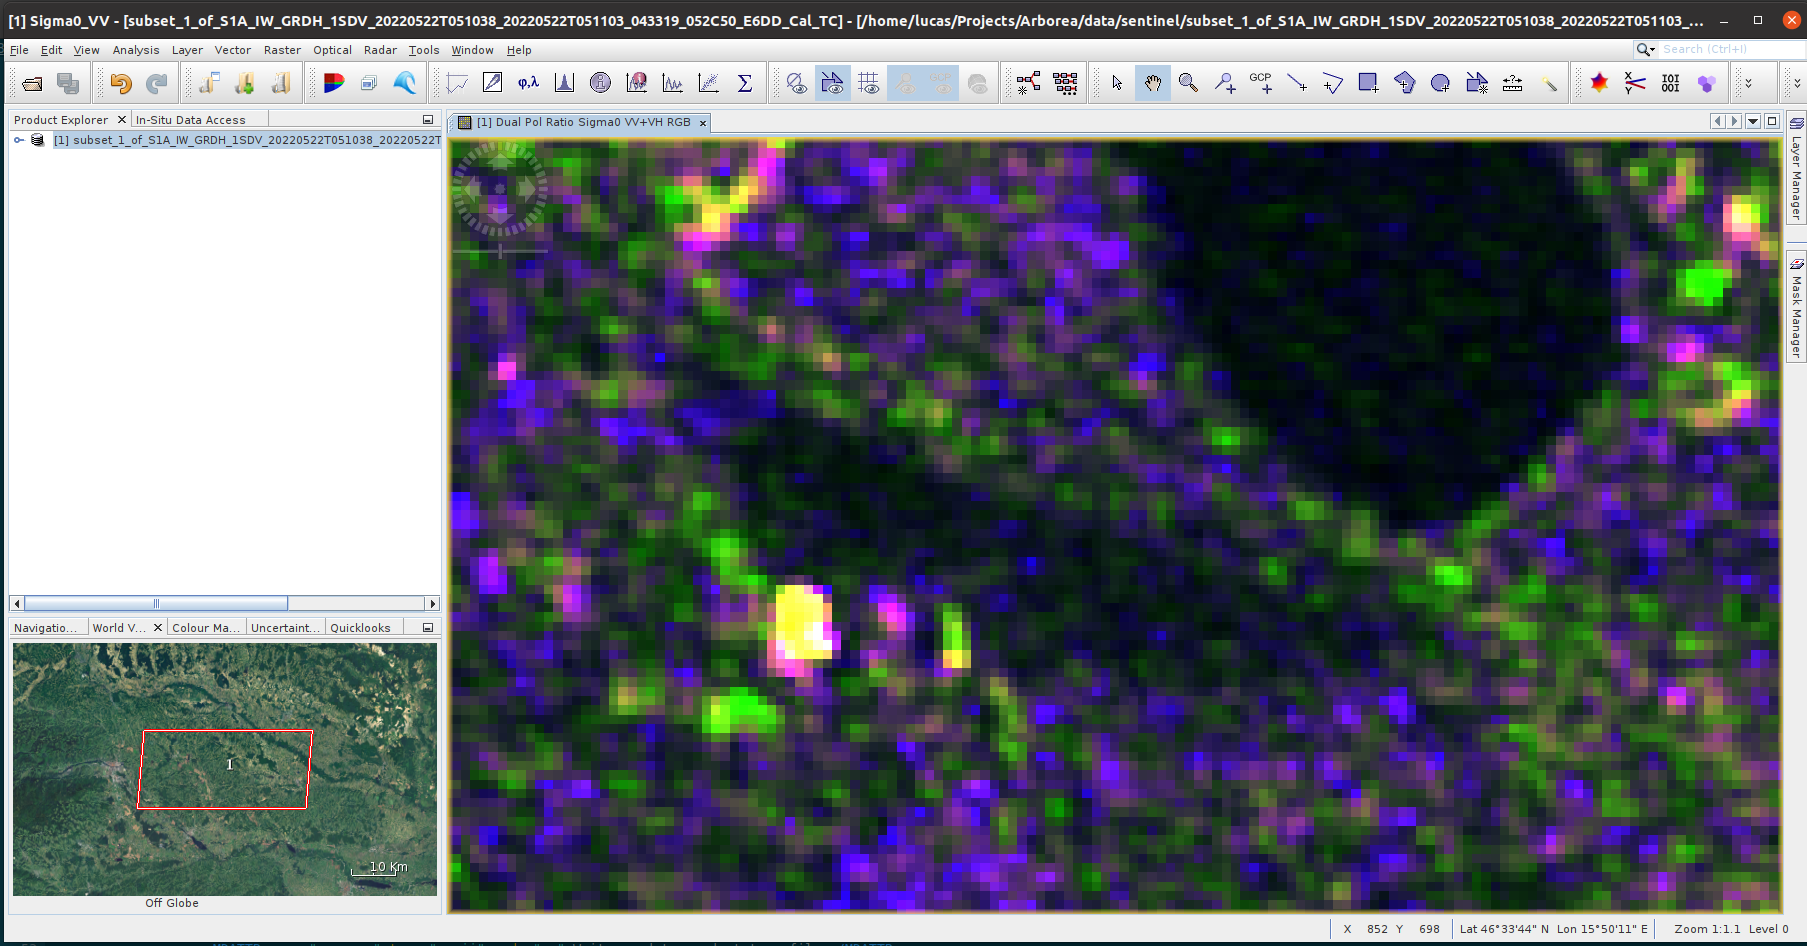
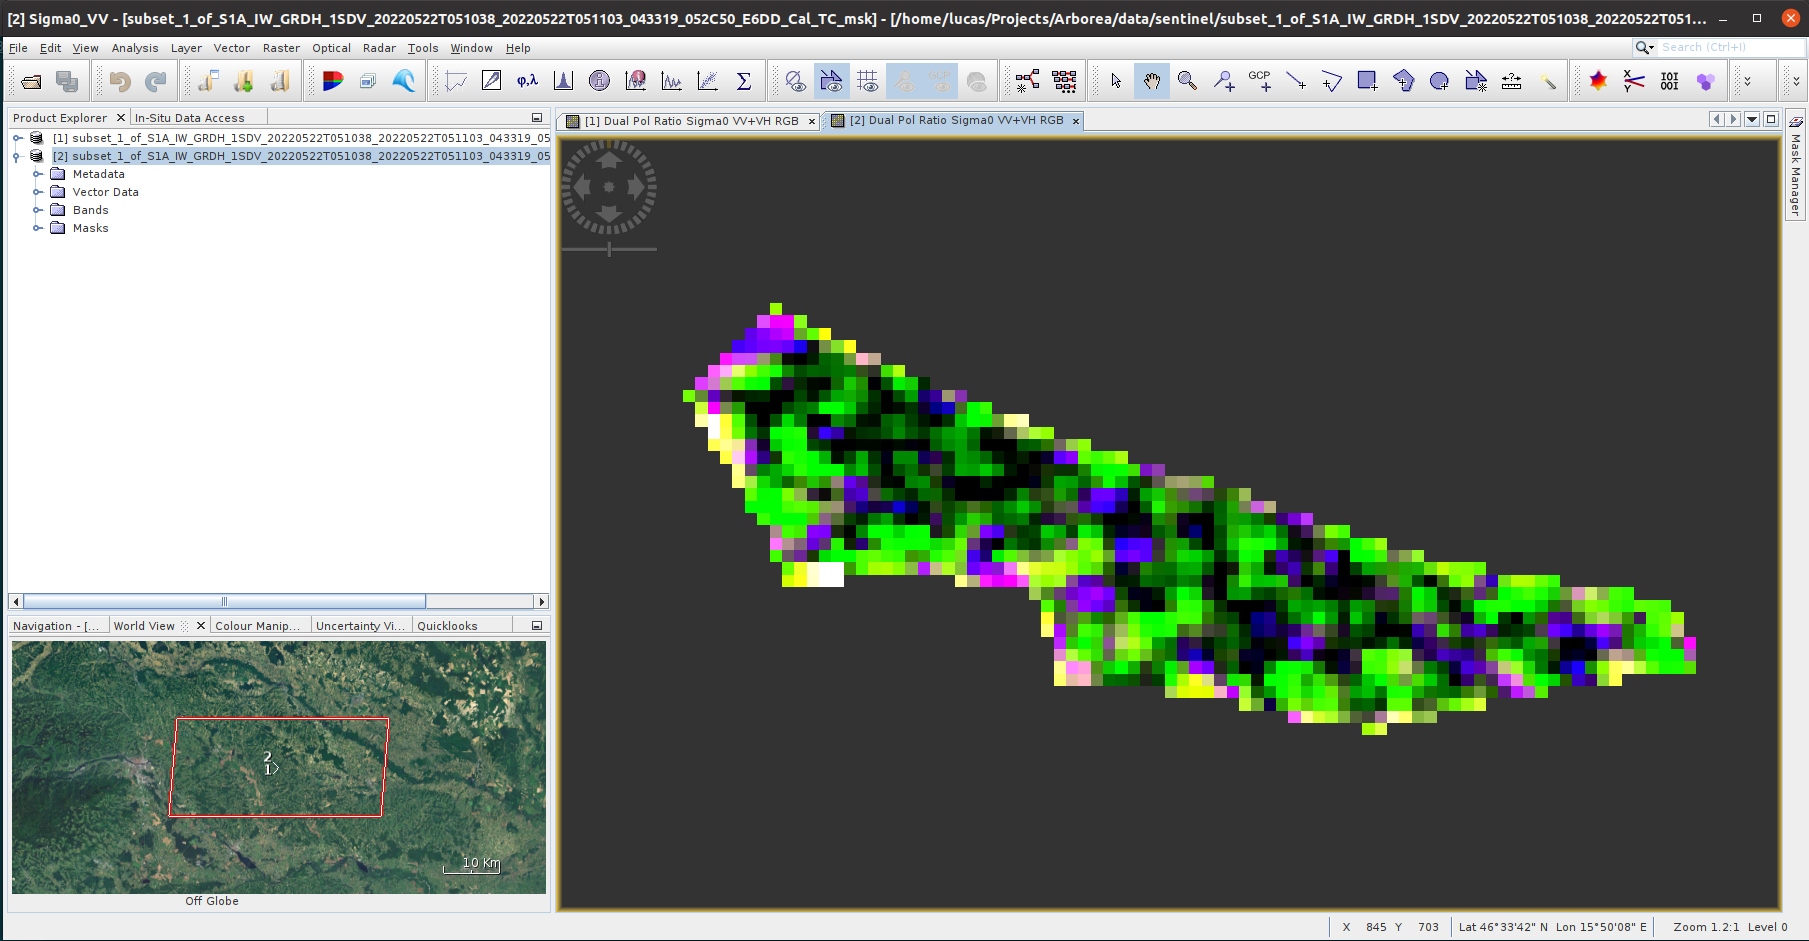
- Open a product. I’m starting off from a GRD product to which I have previously applied both calibration and Range-Doppler terrain correction (in that order). This is what I see when I create the RGB image:

-
Then I right click in the image and select the “Geometry from WKT” function to which I paste the following WKT:
POLYGON ((15.8315176542583 46.561086435037, 15.8318791233252 46.56136095845701, 15.8324450694273 46.5617629982663, 15.8325577222059 46.5617427119253, 15.8333892070006 46.5613867776168, 15.8339739285658 46.5611710028318, 15.83401684391 46.56113042969941, 15.8341455899428 46.5611138315911, 15.8344647728155 46.5610197755479, 15.8355027877043 46.5606822789919, 15.8360955558966 46.56053842736271, 15.8368090234945 46.5603761327591, 15.8376995168875 46.5601013373802, 15.8388946250397 46.5598019118313, 15.8398414448219 46.559658057868, 15.8403027847725 46.5596193278896, 15.8409572437721 46.5595068263671, 15.8412308290916 46.55939985749, 15.8412764266449 46.5591973261846, 15.841297884317 46.5588745727796, 15.8411369517761 46.5589630996189, 15.8409894302803 46.5589778540781, 15.8407909468132 46.5589557223879, 15.8405549124199 46.5588819500218, 15.8398375920134 46.558788714027, 15.8391107133704 46.5586872766856, 15.8386118224936 46.5585729289097, 15.8383409193831 46.5585139106085, 15.8380485586005 46.5584936230526, 15.8375061280235 46.5585399488165, 15.8371440298065 46.558606344369, 15.8366505033478 46.5587040932289, 15.8361638208735 46.558773811565, 15.8356944342959 46.5588106978341, 15.8350963016856 46.5588236080223, 15.8349460979808 46.5588346738955, 15.8349031826365 46.5588973804677, 15.8348810670512 46.5591117723772, 15.8348703382152 46.5593386211221, 15.8348274228709 46.5594437458286, 15.834669172539 46.5596005103636, 15.8336706689685 46.5596669046183, 15.8330886296123 46.5596798146028, 15.8327828577846 46.5596115760783, 15.8322598270267 46.5596023546495, 15.8322115472644 46.559875308279, 15.8321149877399 46.56011137517551, 15.8319333966556 46.5603561128742, 15.8316705401721 46.5607544716362, 15.8314881499591 46.5610366406564, 15.8315176542583 46.561086435037, 15.8315176542583 46.561086435037))
This is what I see at this point (note that I’m attaching two images to visually compare the pixel values, as you can see most of the pixels inside the polygon are originally dark):
- From the menu bar I go to: Raster → Masks → Land/Sea Mask and then select the following parameters:
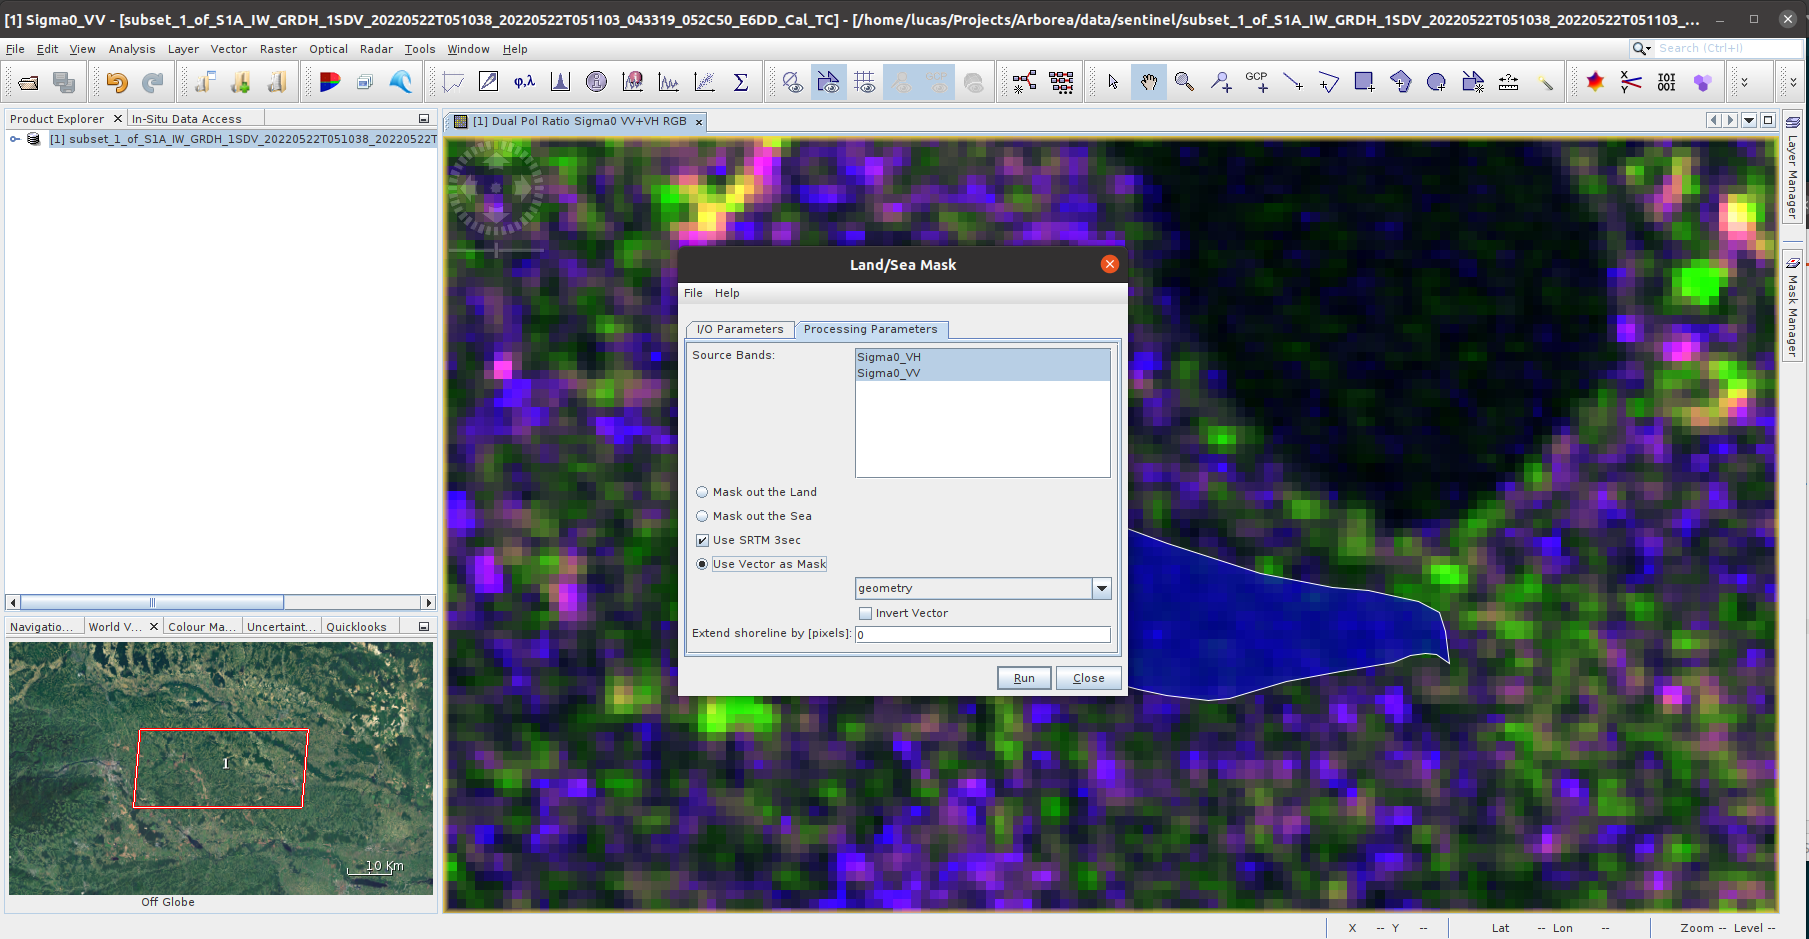
- I generate the RGB image, this is what I get (polygon on and off respectively):
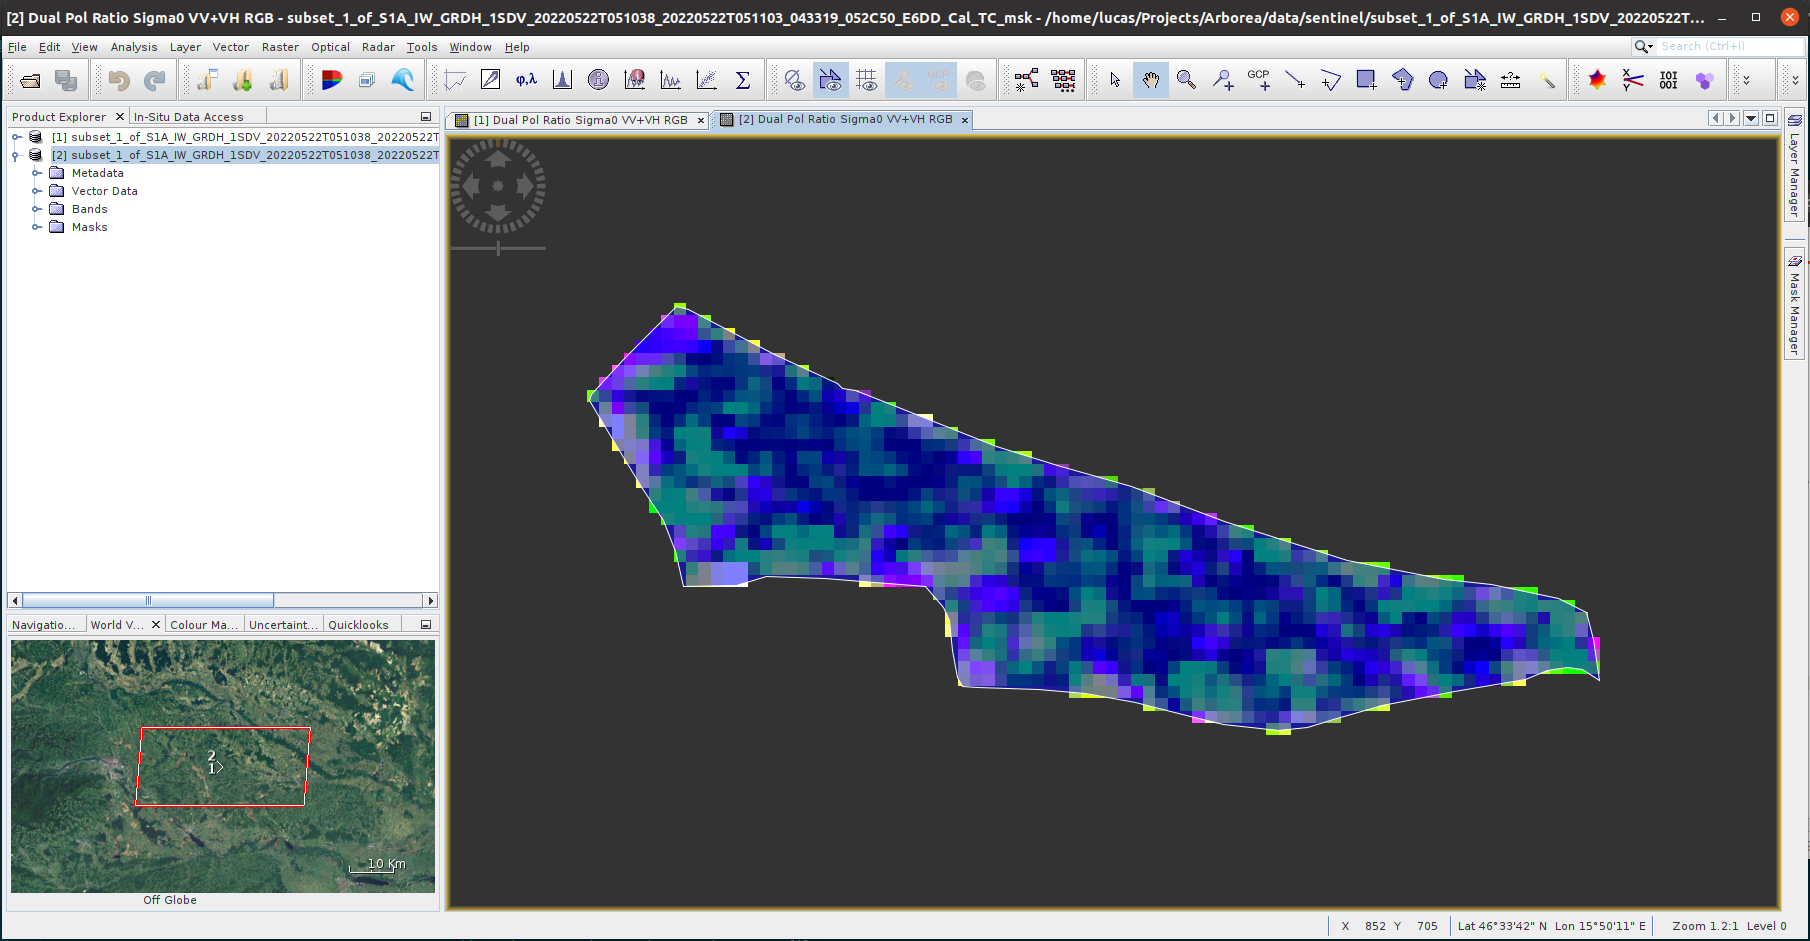
If I compare this last image with the third one that I posted indeed they look very different. I tried to adjust the color and the transparency options from the Mask Manager prior applying the Land/Sea Mask operator thinking that maybe colors are somehow shifted due to mask settings, but obviously I’m wrong about that.
I’m unable to understand what I’m doing wrong. My goal is to perform this operation with many polygons through snappy (so before stepping into the code I decided to run this manually for a single polygon to make sure I’m on track) to extract them and export them to GeoTIFF so then I can later display them in a map in another application. For testing purposes after generating the last product I tried to export it to the GeoTIFF format and while it doesn’t give me any errors it leaves an empty .tif file in the drive.
Can anyone point me in the right direction to achieve this?
Thanks a lot in advance,
Lucas.
