Hey there,
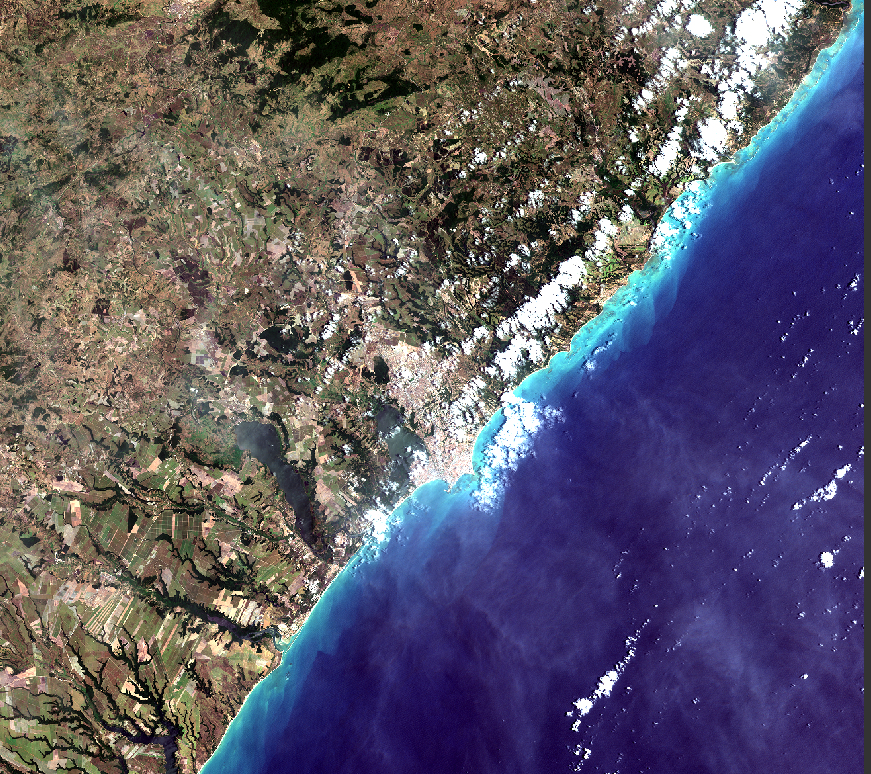
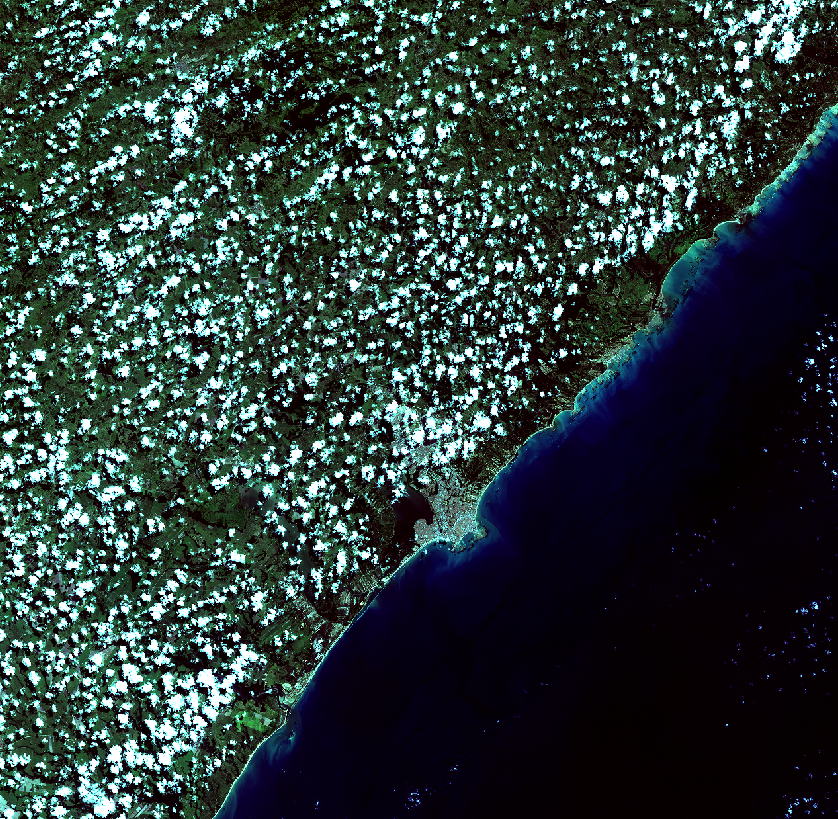
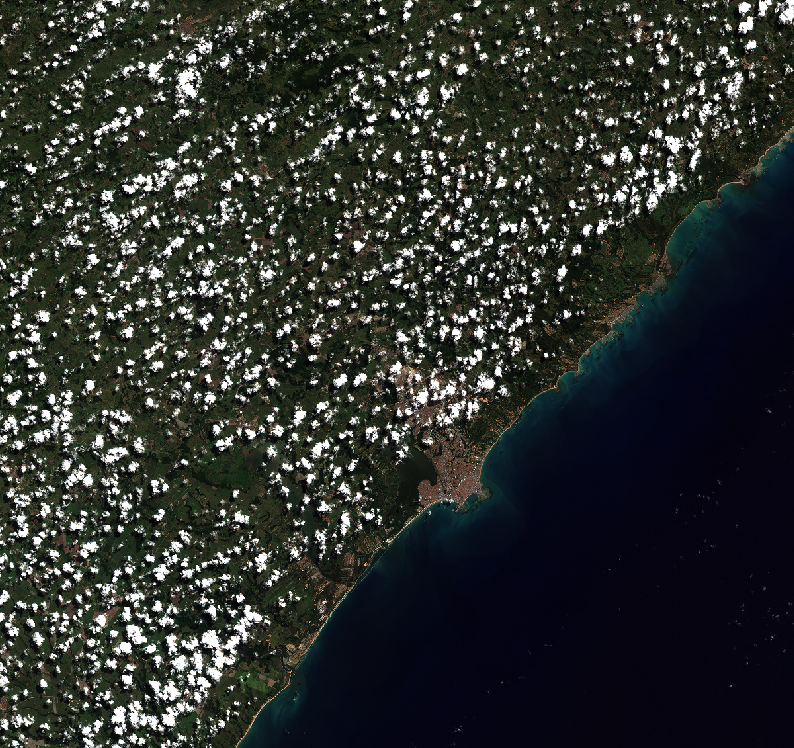
I compared 6 different Sentinel-2 images of the same scene (varying the sensing date only) and I obtained images with different colors (exposure and brightness is varying a lot):
Thank you for the quick answer, @ABraun. Would you please take a look at my steps (just to see if they are correct) below?
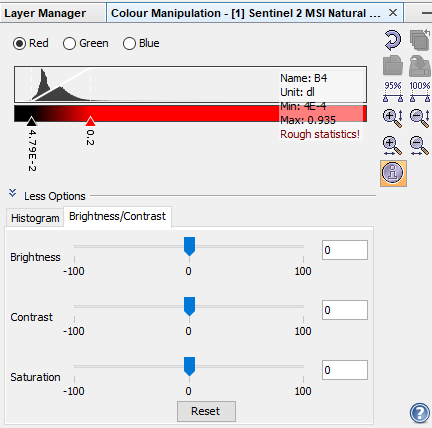
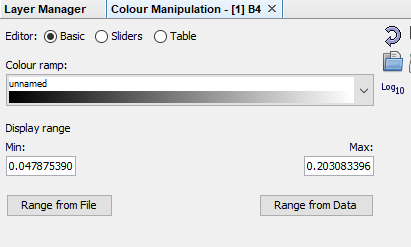
I noticed that when I generated a RGB image, I didn’t have the option to directly set Min and Max values (only changing brightness and contrast, which doesn’t change a lot the aspect of the image):
So I went to each of the RGB bands to copy Min and Max of my reference image (the brighter one)
B4:
Then I went to my target image (the darker one) and Pasted it in B4 Min and Max fields.
Then I did the same for B3 and B2 (copying and pasting Min and Max)
In the end, I generated the RGB image of the target one (using these recently altered bands) and didn’t get good colors:
AFTER:
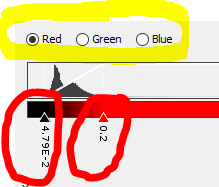
yes, basically you have to set this 6 times (in the RGB color manipulation, not before): min/max for every color (red, green blue) of the original image and the processed one.
Your AFTER screenshot looks like you have only applied it to the red band, but not green and blue:
Oh @ABraun , but I did apply it to green and blue as well. The only thing I didn’t change was the position of those limits on the histogram (color bar). Actually I noticed that histograms will always change and wherever I drag those limits (color bar) there will be a new configuration… so now I got a (little) better image only dragging those limits randomly…
I performed the steps previously mentioned also for a TOA and a BOA image… but I wasn’t successful. It seems like an additional step is needed in order to maintain the same color range in both.
Sorry for the questions, I still didn’t understand what is this additional step.
Thank you so much @ABraun but I still couldn’t generate images within the same color range. I typed the same min/max values for RGB Bands of the reference image, as well as dragging those limits (of the generated RGB image) to the same range, but histograms change and thus color range change.
can you specify how “histograms change”?
If you open both RGBs and then switch between the views and the colors, you should be able to apply the same range to all bands.
Hey! I’ve seen this happen quite a bit with Sentinel-1 scenes from different dates. Even if they’re both 1C products, the visualization can look different because of changes in incidence angle, acquisition geometry, seasonal moisture, calibration/stretch settings, or just different histogram scaling in SNAP.
One thing that helped me was manually matching the display stretch/histogram between images before comparing them. Otherwise the same area can look totally different in color/contrast.
Also, if you need to compare or match colors more precisely while checking screenshots or exported images, I’ve used https://colorpickerimage.org/ a few times to inspect the exact color values on the image itself. Pretty handy for visual comparisons.