This is what works for my configuration.
I previously had sen2cor 2.3 and previous versions installed as well, also older versions of SNAP which I then updated to version 6. So this might also be the case for most of the users.
Please note: These instructions were originally written for sen2cor 2.4 but they simply describe a clean install of a new version and should basically work with later ones as well.
If you didn’t have SNAP or sen2cor installed before, you can skip steps 1 and 2, but if you want to go sure that everything is clean, follow all of them. This may also help to identify possible errors.
#1. Deletion of all sen2cor plugins (if available)
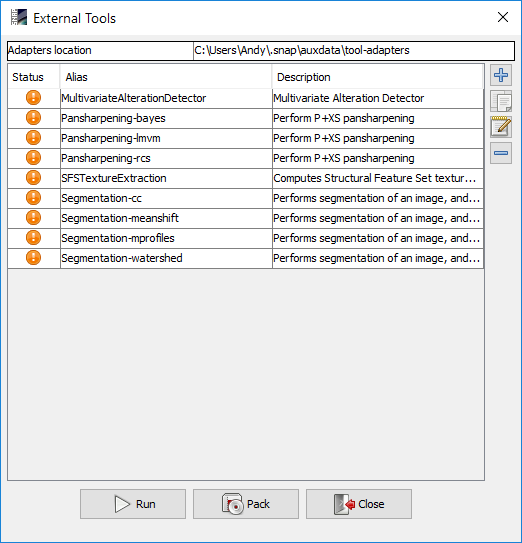
Tools > Manage external Tools
Make sure that sen2cor is no longer listed. Remove it with the minus sign.
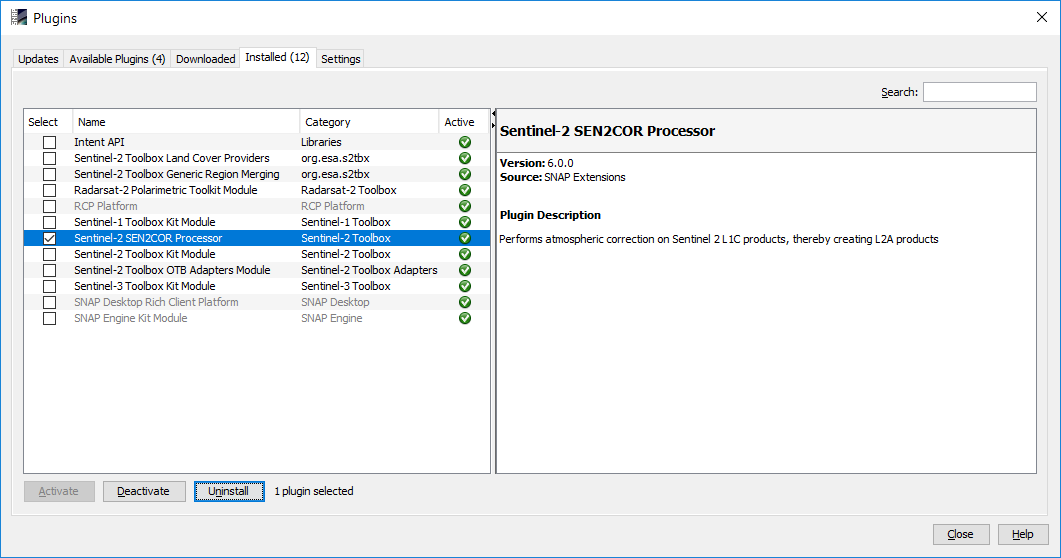
Tools > Plugins
Uninstall all sen2cor versions available, even if 2.4 is listed under SNAP 6. I experienced that there are some old references which might still interfere with that. So select sen2cor and click “uninstall”. Then restart SNAP.
#2. Delete all sen2cor folders from your system, especially under
- C:\users\yourname\documents\sen2cor
- C:\users\yourname\.snap\auxdata\Sen2Cor-2.4.0-win64 (this is hidden, you have to display all data first)
#3. Perform a clean new installation of sen2cor 2.4 within SNAP 6
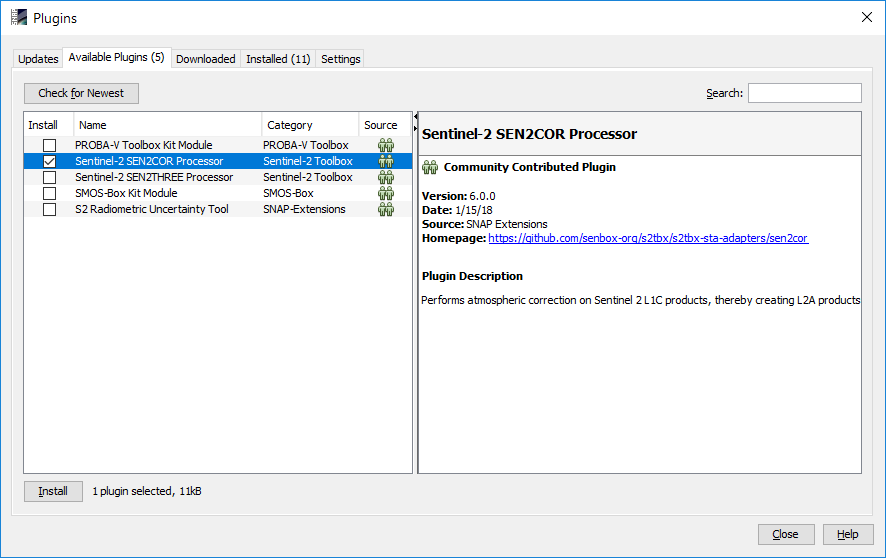
Tools > Plugins
Select sen2cor under “Available plugins” and install. Restart SNAP upon request.
#4. Run sen2cor for the first time
Optical > Thematic Land Processing > sen2cor
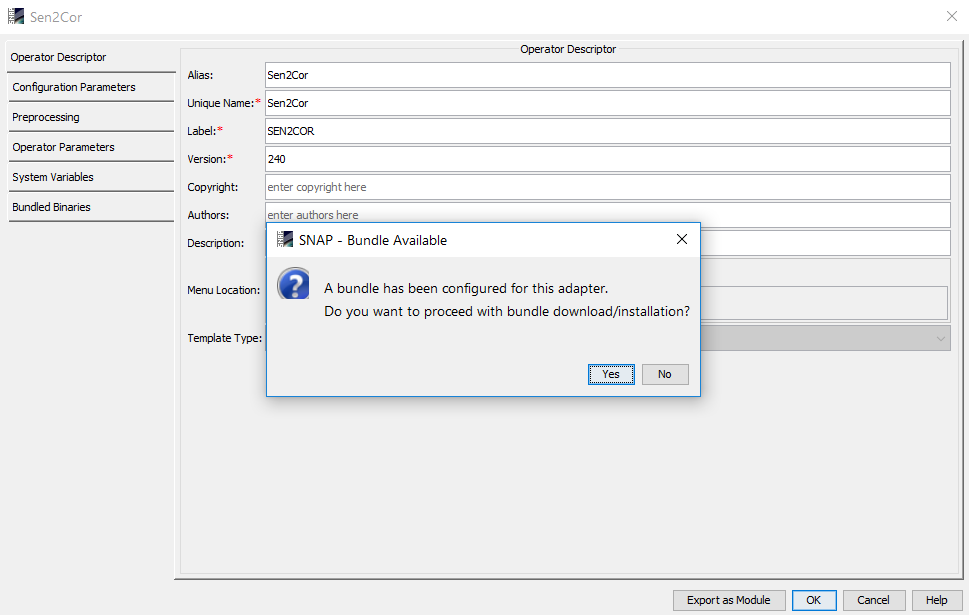
It will probably not work yet but give you a message:
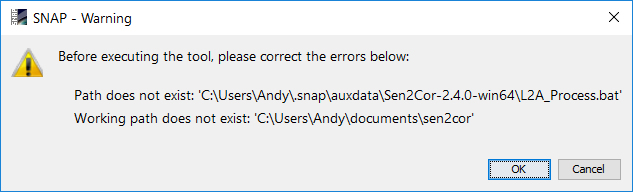
This is no wonder because none of these folders does exist.
Hit “OK” and you are redirected to the plugin settings again. You are asked if you want to install the bundle for SNAP 6. Confirm with “Yes”. This might then take some while because sen2cor is freshly downloaded and integrated.
Progress bar at the bottom.
![]()
After completion, you get a message - remember this path:
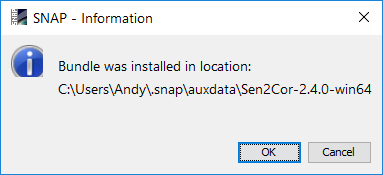
The System variable SEN2COR_BIN should now point to this directory, however SEN2COR_HOME doesn’t exist yet (as we deleted the folder in step 1).
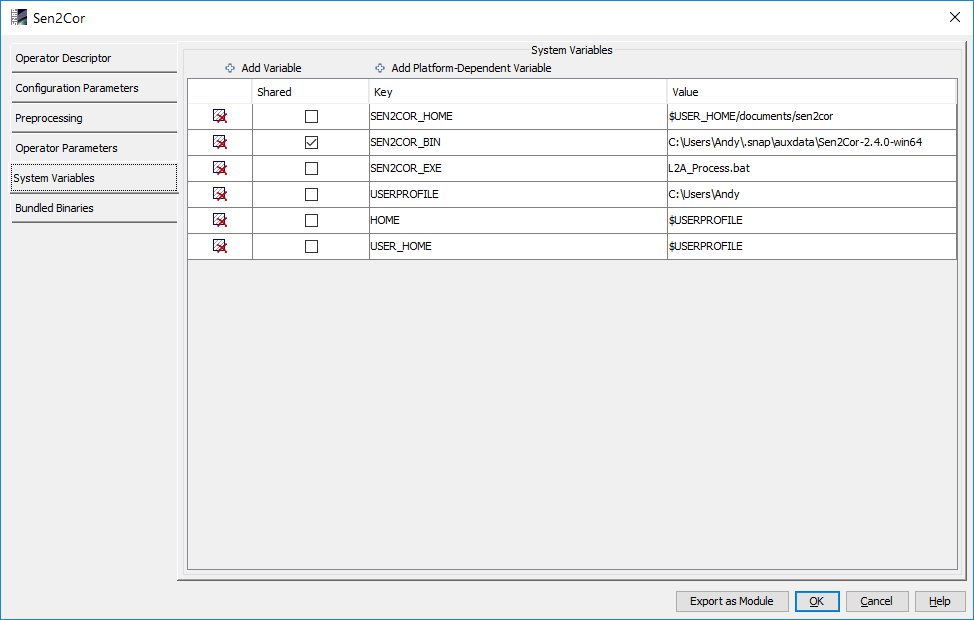
#5. Create SEN2COR_HOME
Create a new folder at this location (or any other, but make sure it exactly matches the SEN2COR_HOME variable).

#6. Run sen2cor
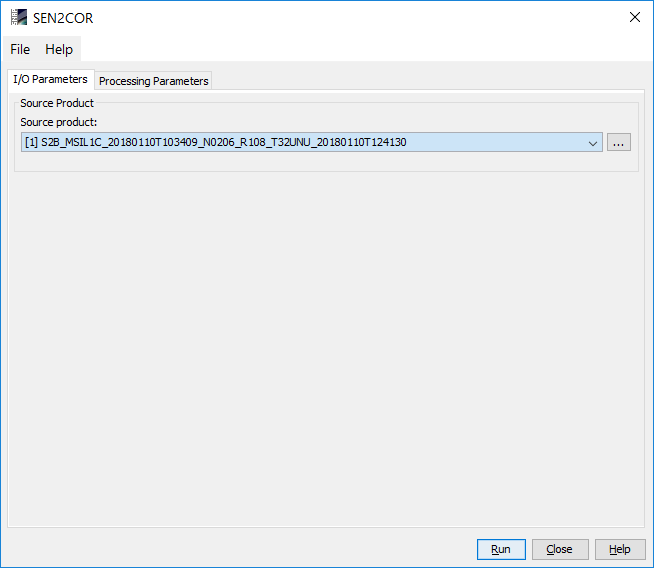
Optical > Thematic Land Processing > sen2cor
Make sure you select a Level1C product of Sentinel-2 (MSIL1C) and use it as input for the tool.
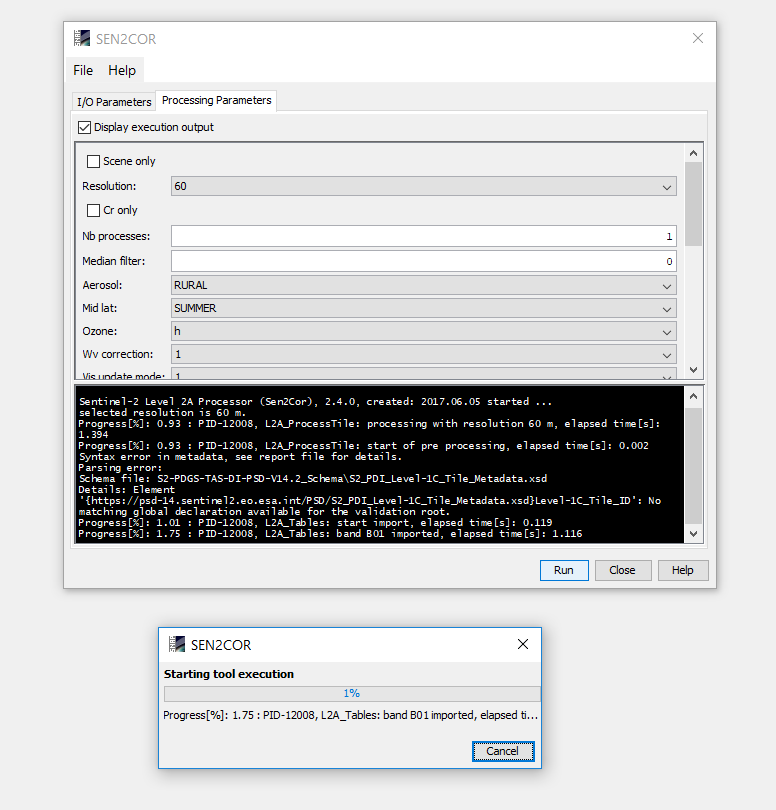
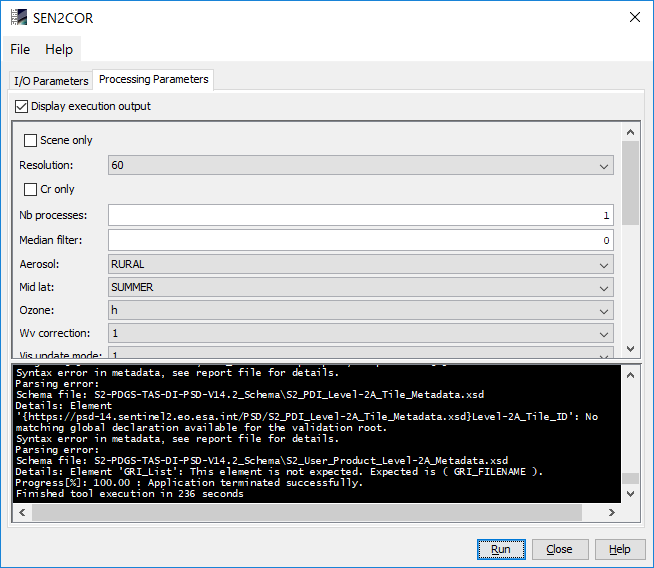
In the “Processing Parameters” tab, enable “Display execution output” to get information on the progress of the tool and possible errors.
#7. Open the result
After finishing the target product was written in the same folder as your input data.
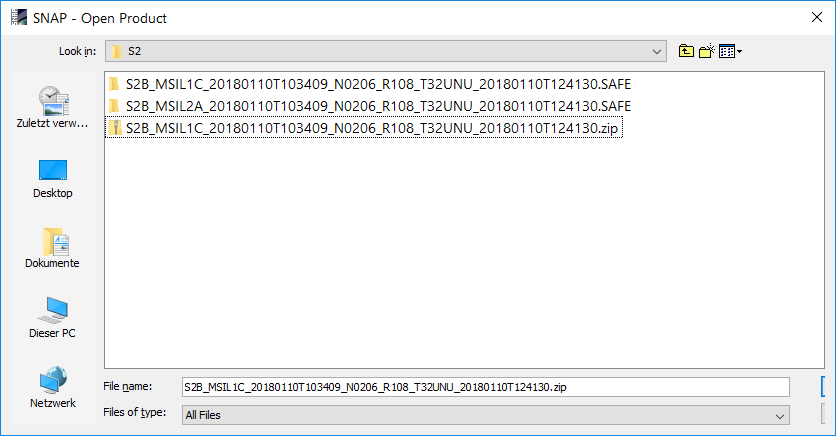
S2_MSIL1C represents the product before correction, MSIL1A is the corrected product. Open it with the MTD_MSIL2A.xml file.
Left: Level-1C, right Level-2A:
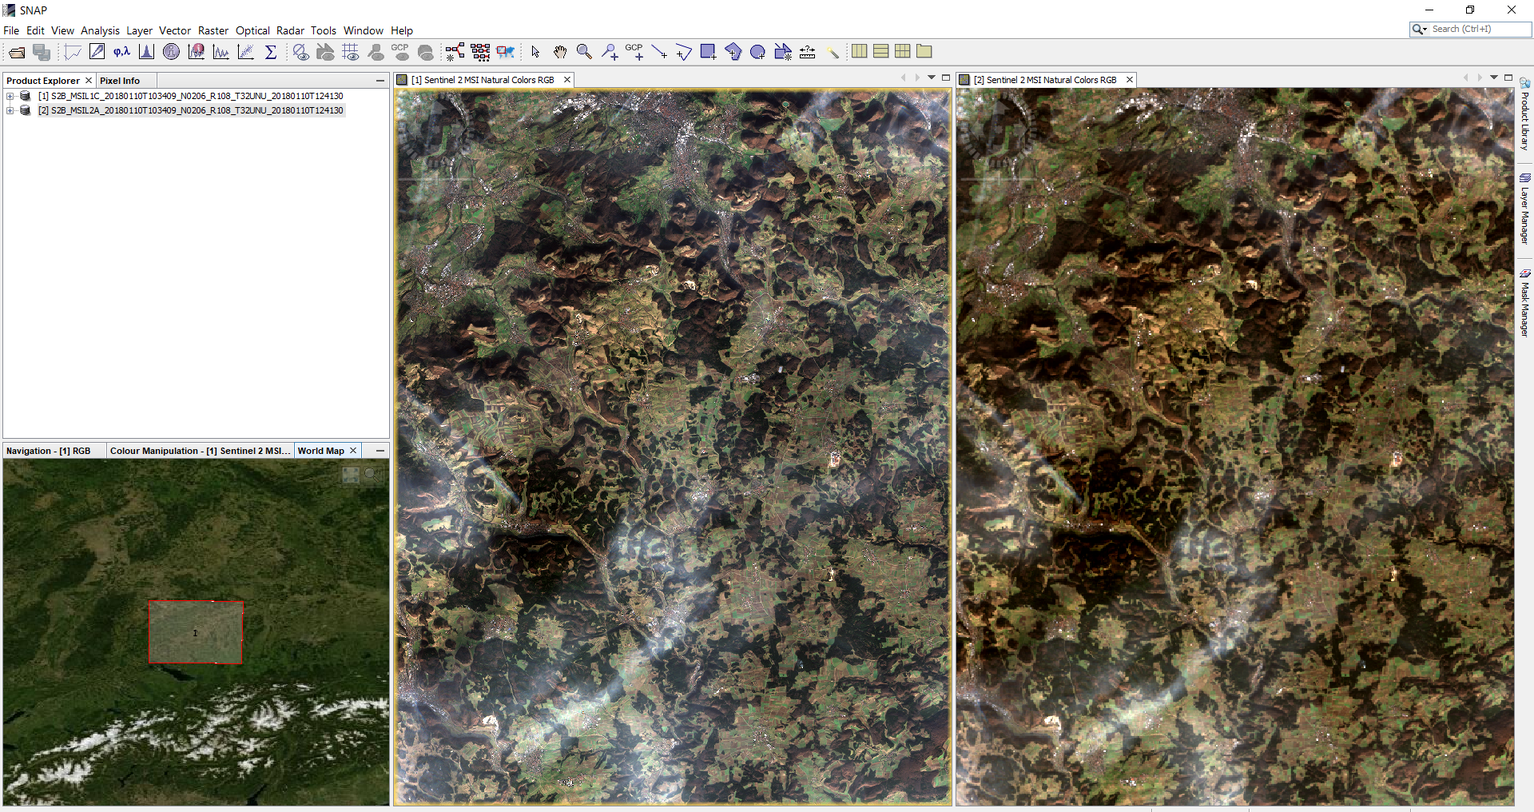
A note on performance: As you see, sen2cor doesn’t work wonders. Slight haze can be removed but no thick layers of clouds, of course. The core functionality is the conversion into bottom-of-atmosphere reflectance and the reduction of topographic effects. The new plugin allows to play around with the parameters directly in SNAP, aerosols for example.